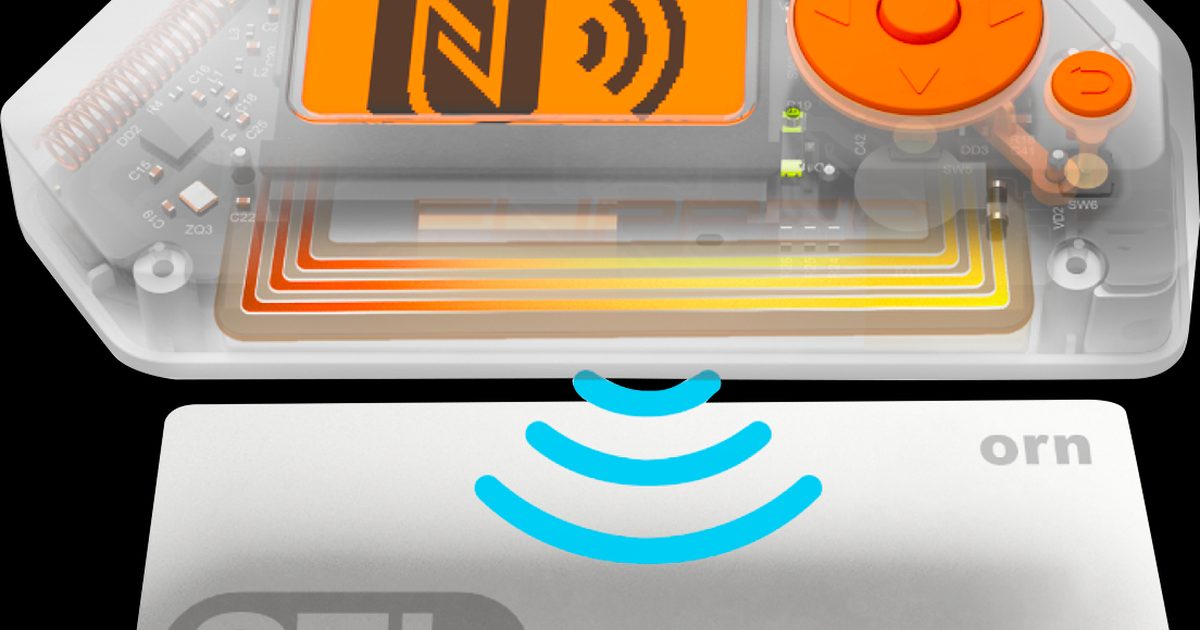
Header image: Official Flipper Zero GPIO / tinkering photo. Image: Flipper Devices. Source: flipper.net.
Disclosure: some links below are Amazon affiliate links (tag cao04-20). Costs you nothing; the picks are the same either way. The Flipper.net links are plain links.
Note: Research was conducted on November 10, 2026 (America/New_York). Firmware versions and menu wording can change; re-check the live Momentum wiki if a label does not match.
Part 4 of the Flipper Zero Momentum Beginner Guidebook. You should already have Momentum installed from Part 3. This part is the settings tour. Asset Packs get their own walkthrough in Part 5. Sub-GHz details wait until Part 6.
As of November 10, 2026, this series still pins mainline mntm-012. Re-check before you treat any toggle as permanent.
Who this bites
This is for people who just flashed Momentum and want to set up the interface without turning on the dangerous options. You do not need a Video Game Module, a Wi-Fi dev board, or an RGB backlight to use most of this. Those extras have their own toggles; skip them if you do not have the hardware.
If you stayed on Official Firmware, this part does not apply. Official Firmware has no MNTM app.
Open Momentum Settings (MNTM)
On the Desktop — the screen with the dolphin animation — press UP and open the MNTM app (the M logo). The wiki also describes this as Momentum Settings. Inside, there are three areas: Interface, Protocols, and Misc.
That is the whole entry path this series will use. It will not invent swipe gestures, a Control Center tutorial, or an on-device Notes app. Momentum’s marketing and the comparison table also mention desktop keybinds and a control center with quick toggles. This fact sheet does not inventory those screens, so this part will not invent swipe directions, default tabs, or keybind maps. If you see those options in MNTM on your build, treat the on-device labels as the source and leave anything you do not understand at its default.
Interface: desktop, main menu, lockscreen, file browser
Graphics is where Asset Pack, Anim Speed, Cycle Anims, and Unlock Anims live. Details, including the official ranges (Anim Speed 25–300%, default 100% in 25% steps; Cycle Anims OFF, Meta.txt default, or intervals from 15 seconds to 24 hours; Unlock Anims off by default so packs honor dolphin level and mood), are in Part 5 and the Graphics wiki. You can pick a pack here; the how-to for installing packs is the next part.
Main Menu is where Menu Style, Reset Menu, Add App, Move App, and Remove App live. The Interface wiki says you can choose from 9 different menu layouts. The Momentum homepage still says a redesigned interface with 8 main menu styles. Those are both official sources, and they disagree. Re-check the live Interface page before you treat either number as gospel. Pick a layout you can actually read. This series will not invent how many apps fit on one screen, or what the icons and backgrounds do in each style.
Lock Screen is the section to read slowly:
- Lock on Boot is the improved-security option from Momentum’s comparison table. It is a reasonable beginner choice if you want the device locked when it powers on.
- Format on Bad PINs automatically formats the device after 10 incorrect PIN attempts. Do not enable this casually. It is destructive.
- Allow USB RPC while locked and Allow BLE RPC while locked control whether a computer or the mobile app can talk to a locked Flipper. If Web Updater cannot connect while the device is locked, this USB toggle is the first setting to check — after Momentum is already installed.
- Allow Poweroff and the lockscreen element toggles (Show Time / Seconds / Date, Show Statusbar, the “Press UP to unlock!” prompt, Transparent) are cosmetic or convenience options.
Status Bar covers battery icon styles, Show Clock, Show Icons, Bar Borders, and Bar Background. File Browser covers Folders Above Files, Show Hidden Files, Show Internal Tab, Show Path, and Favorite Timeout. General covers Text Scroll, Clock Midnight Format, and Popup Overlay. Turn on Show Hidden Files if you will be looking at packs or update folders later. Leave the rest at defaults if you do not have a preference.
Protocols / GPIO-related options (high level only)
The Protocols page includes Sub-GHz frequency configuration (Use Defaults, Static Freqs, Hopper Freqs) and two advanced toggles: Bypass Region Lock and Extend Freq Bands. Extend Freq Bands stays locked until region lock is bypassed. Official Firmware uses Region Information to list frequencies allowed for transmission. This series will mention that these Momentum toggles exist. It will not give steps or encouragement to transmit outside what is legal where you live. Deep Sub-GHz work is Part 6. When in doubt, leave both toggles alone.
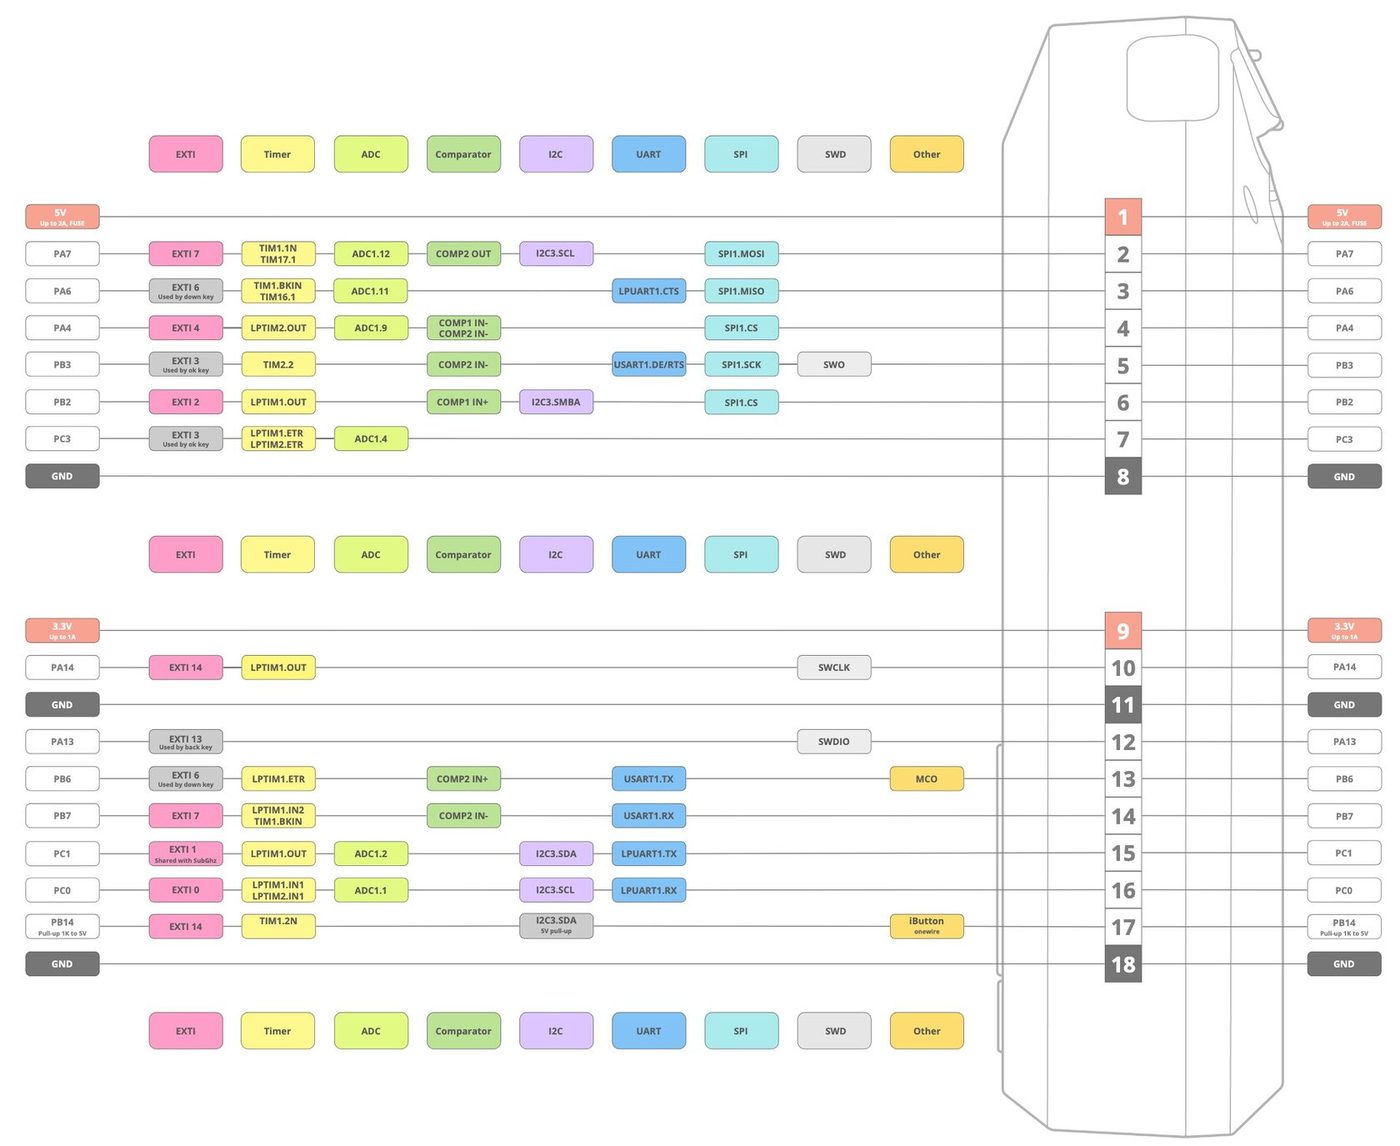
Image: Official Flipper Zero GPIO pinout. Image: Flipper Devices. Source: flipperzero.one.
Protocols also lists GPIO pin assignments for optional external modules: CC1101 SPI, HRF24 SPI, ESP32/8266 UART, and NMEA GPS UART. This part names them only. It is not a wiring guide. If you want Flipper’s official Wi-Fi module, the Wi-Fi Developer Board for Flipper Zero (ESP32-S2, sold on Amazon by Flipper Devices Store) is the official board. The official Flipper Zero silicone case is cut out for the GPIO pins, microSD slot, and USB-C port.
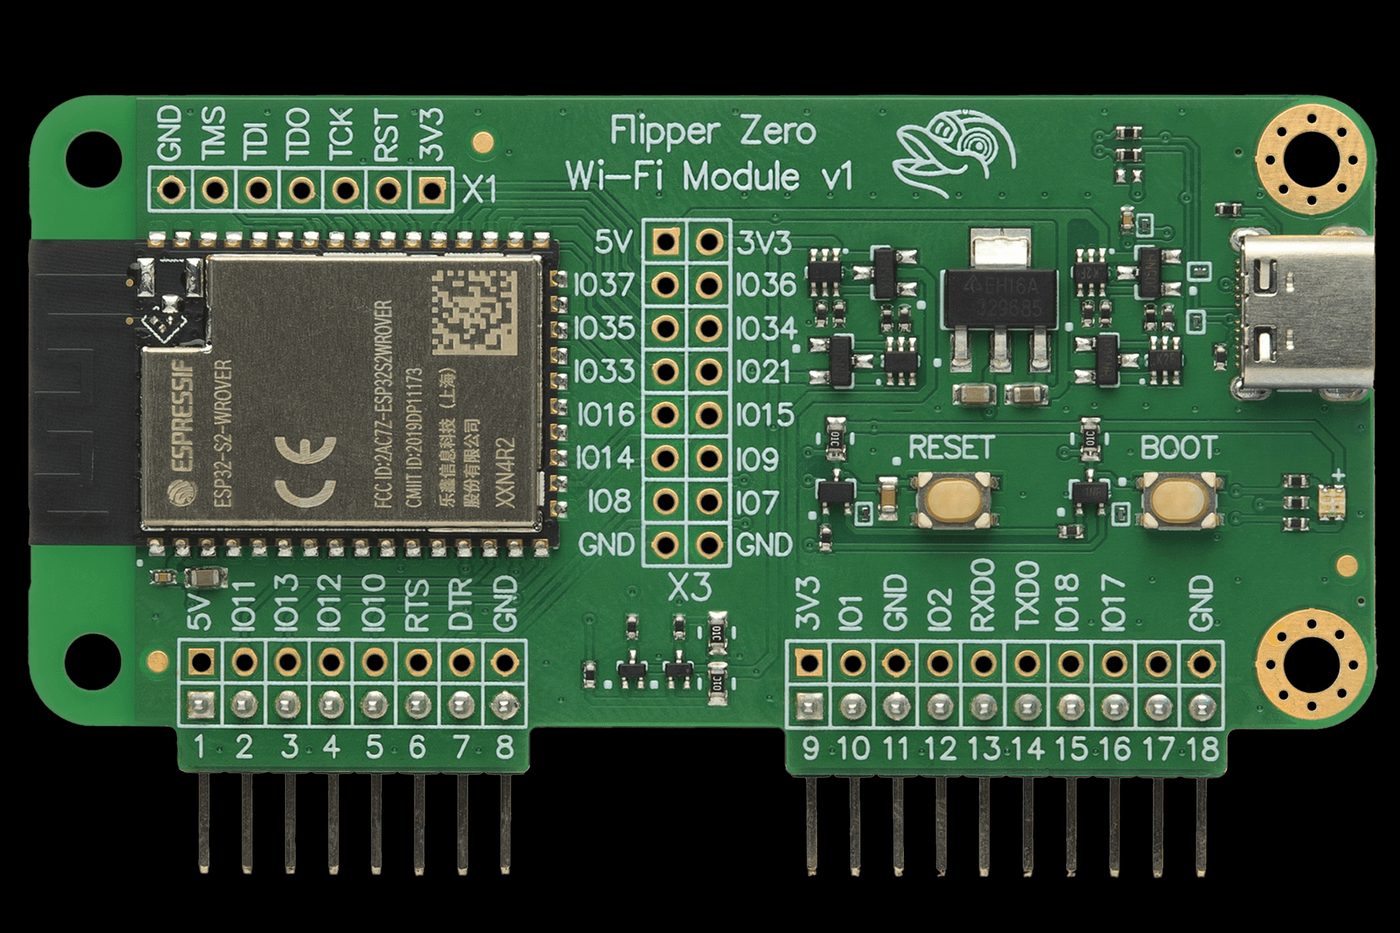
Image: Official Flipper Wi-Fi Developer Board. Image: Flipper Devices. Source: flipper.net.
Misc: screen, dolphin, spoofing, VGM
Screen includes Dark Mode and Left Handed, plus RGB Settings. RGB Backlight, the LCD LED colors, and Rainbow options apply only if an RGB backlight is installed. Do not assume every Flipper has RGB out of the box.
Dolphin covers Dolphin Level, XP, Angry / butthurt, and the Butthurt Timer. These are cosmetic pet stats, not security settings.
Spoofing can change the Flipper Name (empty means the real name). The wiki says this also affects BLE name and MAC, plus USB name and serial number. Shell Color is here too. Use spoofing only in a lab, on devices you own. Do not use it to impersonate others or evade identification.
VGM Options are for the Video Game Module and require RGB Firmware on the VGM. Foreground defaults to Black, background to Orange. Skip this entire section if you do not have a VGM.
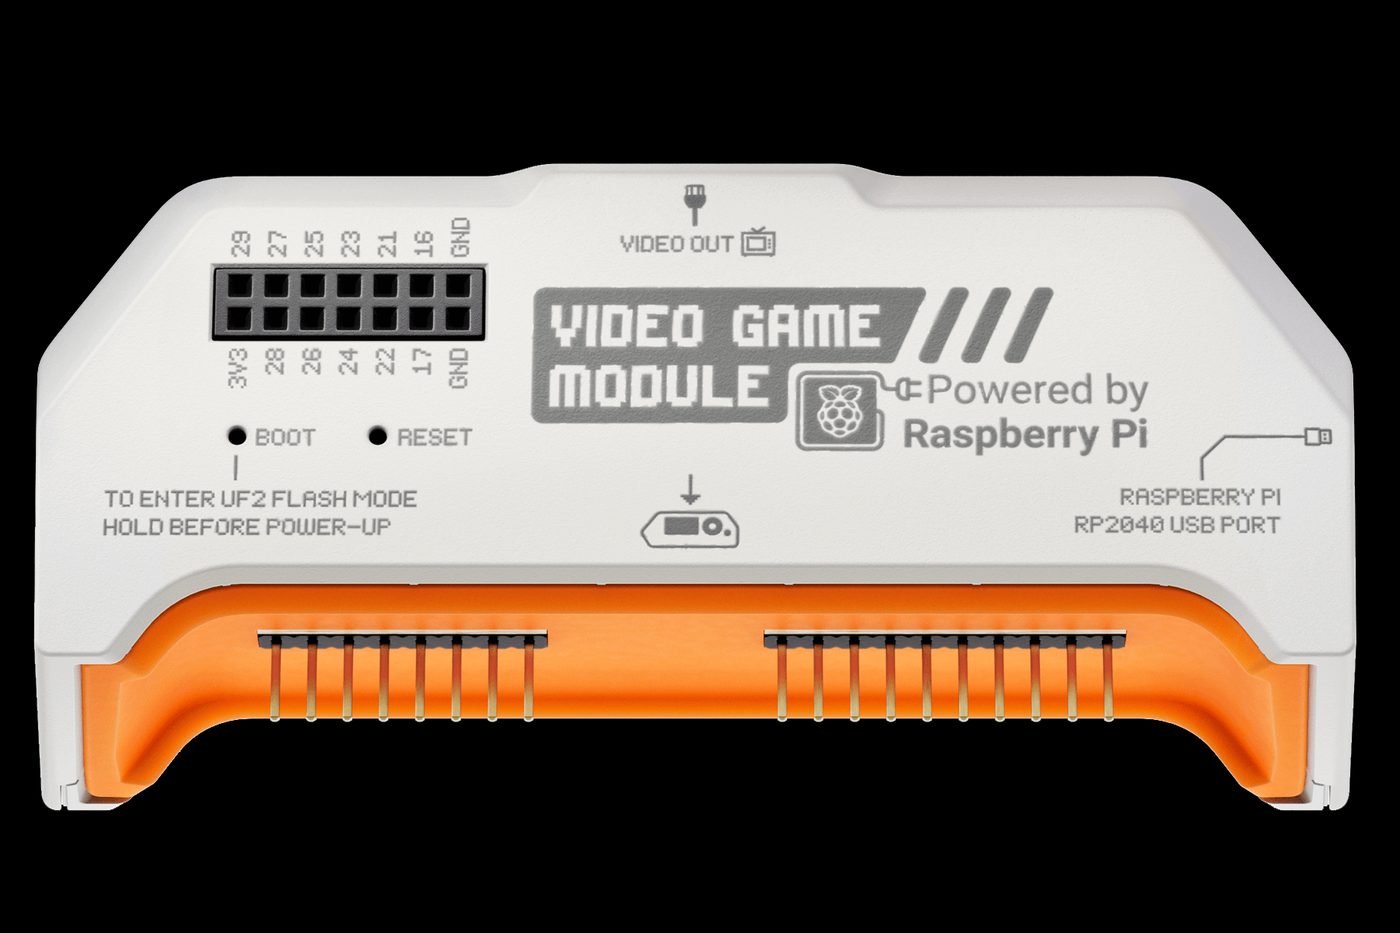
Image: Official Flipper Video Game Module. Image: Flipper Devices. Source: flipper.net.
Momentum Intro replays the introduction screen from initial setup. Harmless, if you want to see it again.
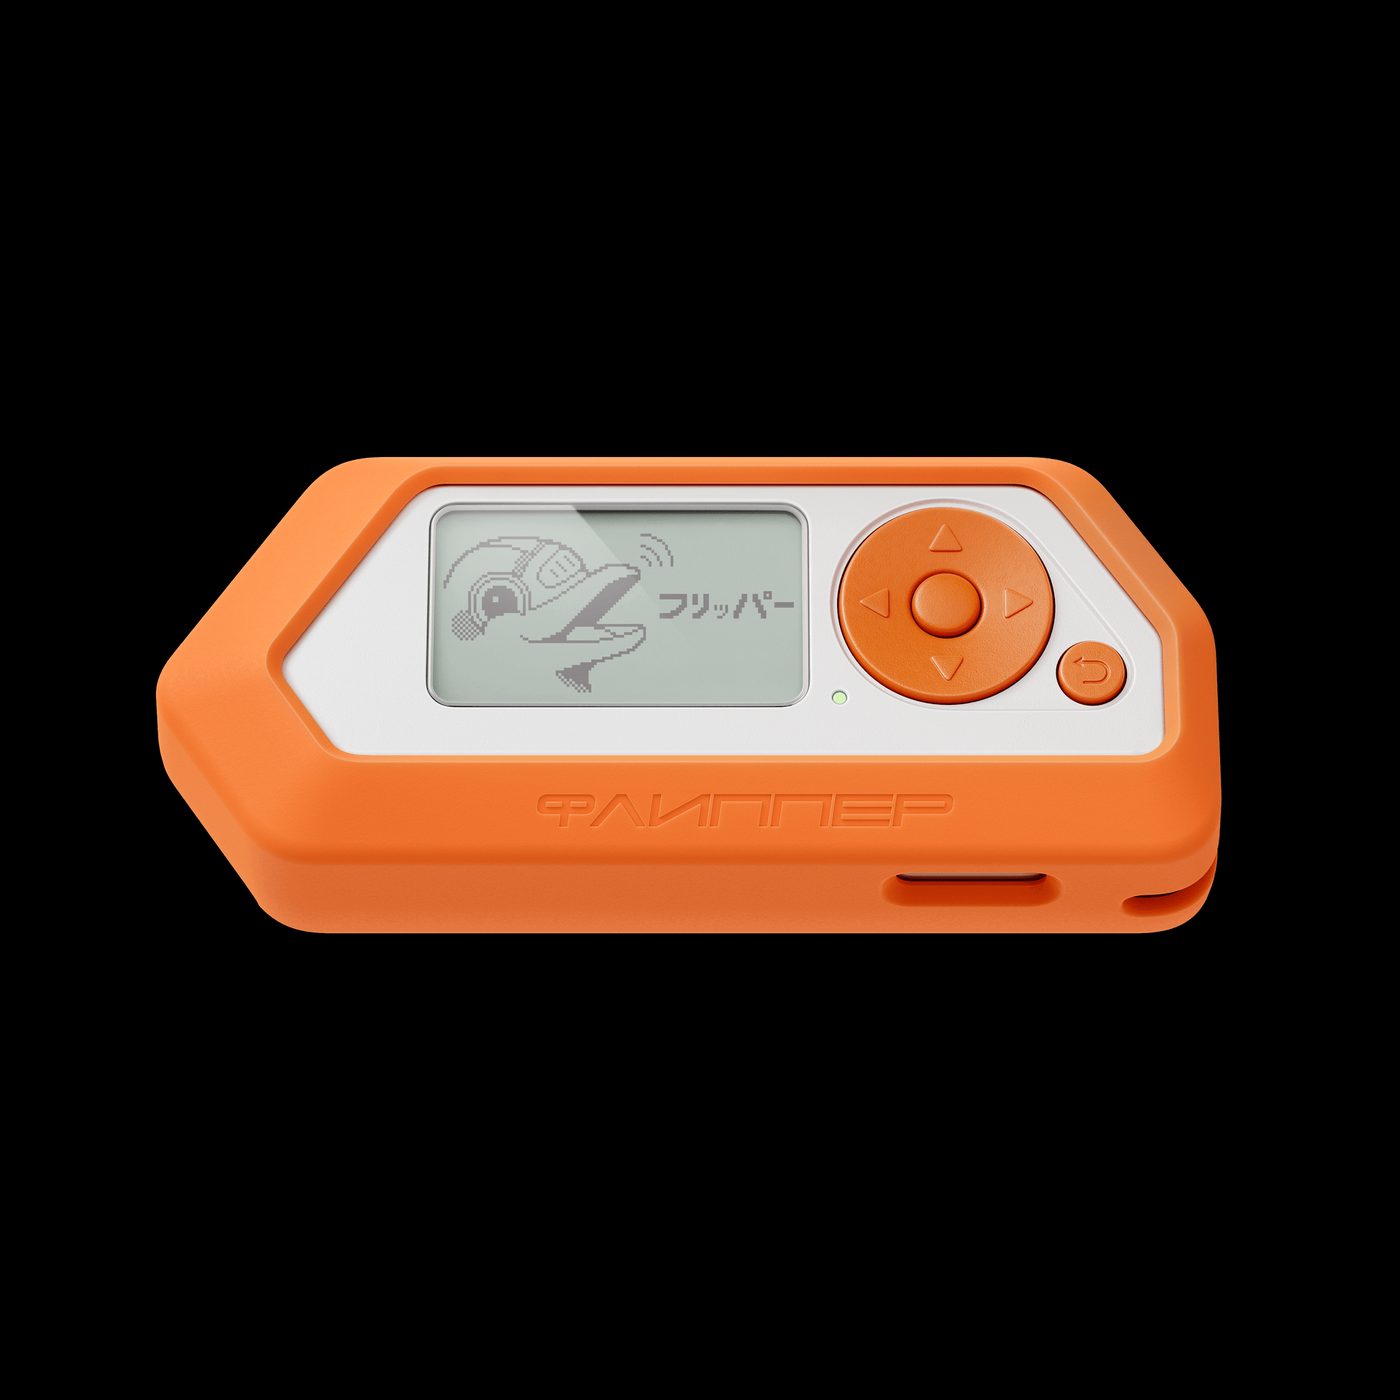
Image: Official Flipper Zero silicone case. Image: Flipper Devices. Source: flipper.net.
Settings you should not casually flip
Leave Bypass Region Lock and Extend Freq Bands off unless you know exactly why you are changing them and that the result is legal where you are. Leave Format on Bad PINs off unless you understand it will format the device after 10 bad PIN attempts. Leave spoofing empty (the real name) unless you have a lab reason. Those are the beginner landmines. The rest of MNTM is mostly interface.
Suggested beginner posture
A safe starting point that stays consistent with the wiki: leave Bypass Region Lock and Extend Freq Bands alone; leave Format on Bad PINs off; turn on Lock on Boot if you want the device locked at power-on; pick a Menu Style you can read; leave the Flipper name empty so it stays the real name; skip RGB, VGM, and GPIO module assignments until you have the hardware. Then go to Part 5 and install an Asset Pack if you want a theme.
Legal and ethics
This guidebook is for learning on hardware and tags you own, or have written authorization to test. Transmitting on restricted frequencies, cloning access credentials, interfering with other people’s devices, or using BadUSB / Bad KB against systems you do not own can be illegal. Custom firmware increases capability; it does not increase your legal rights. When in doubt, don’t transmit and don’t emulate. Local laws vary.
Checklist
- Open MNTM by pressing UP on the Desktop and selecting the M logo.
- Pick a Menu Style you can read. Do not treat “8” or “9” styles as a settled number until you re-check the live wiki.
- Decide on Lock on Boot. Leave Format on Bad PINs off unless you accept a wipe after 10 bad PINs.
- Leave Bypass Region Lock and Extend Freq Bands alone.
- Leave spoofing empty unless you have a lab reason.
- Skip RGB, VGM, and external-module pin maps if you do not have that hardware.
- Optionally turn on Show Hidden Files in the file browser.
- Continue to Part 5 for Asset Packs.
FAQ
Where is Momentum Settings?
Press UP on the Desktop and open the MNTM app (the M logo).
Why do some pages say 8 menu styles and others say 9?
The homepage says 8; the Interface wiki says 9. Both are official. This series flags the disagreement instead of picking a winner. Re-check the live Interface page.
What does Format on Bad PINs actually do?
It automatically formats the device after 10 incorrect PIN attempts. That is destructive. Leave it off unless you understand the trade-off.
Do I need a Wi-Fi dev board or a VGM for this part?
No. Those are optional modules with their own settings. Skip them if you do not have the hardware.
Will these settings survive a later Momentum update?
User data and many settings live on the SD card or in the hidden .int folder, but this series will not invent a guarantee for every toggle. Back up the SD files before you update (Part 10).
The bottom line
Open MNTM, pick a readable menu, decide on Lock on Boot, and leave the region-lock, format-on-bad-PIN, and spoofing options alone unless you have a specific, legal reason. The rest is cosmetics and optional hardware. Asset Packs are next.
Previous: Part 3 – Install Momentum Firmware on Flipper Zero: Web Updater, qFlipper, and Mobile Next: Part 5 – Flipper Zero Asset Packs on Momentum: Install Themes Without Recompiling
Sources
7 refs- https://momentum-fw.dev/wiki/momentum-fw.dev
- https://momentum-fw.dev/wiki/Interfacemomentum-fw.dev
- https://momentum-fw.dev/wiki/Interface/Graphicsmomentum-fw.dev
- https://momentum-fw.dev/wiki/Protocolsmomentum-fw.dev
- https://momentum-fw.dev/wiki/Miscmomentum-fw.dev
- https://docs.flipper.net/zero/sub-ghzdocs.flipper.net
- https://momentum-fw.dev/momentum-fw.dev
comments
loading comments…
No comments yet. Start the thread.