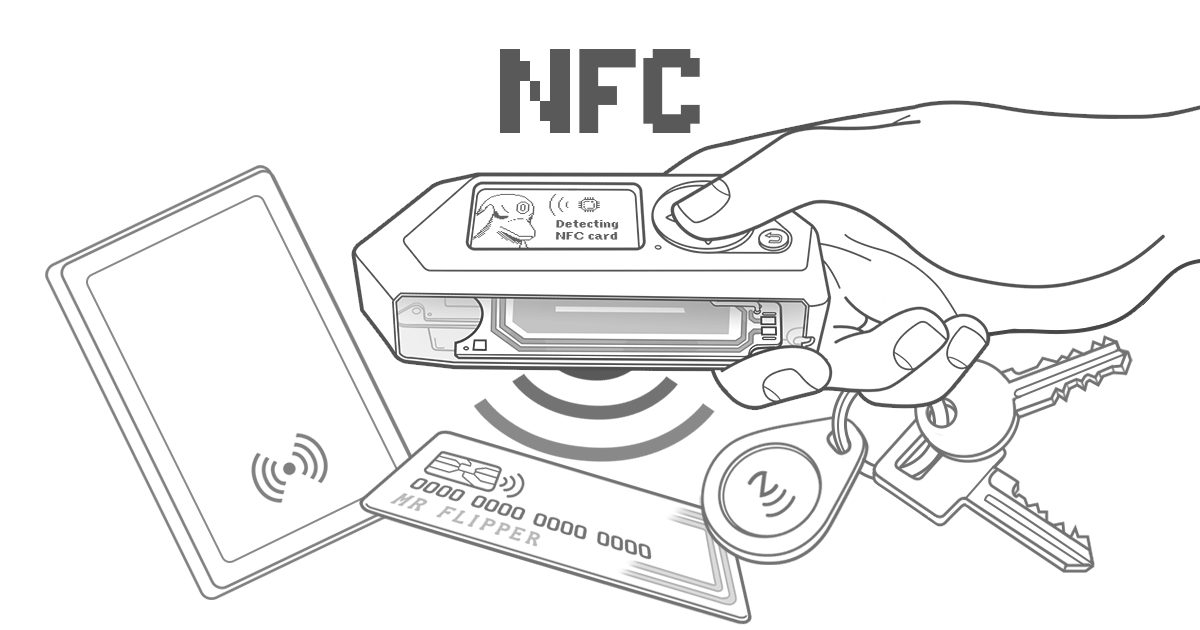
Header image: Official Flipper documentation artwork for the NFC app. Image: Flipper Devices. Source: docs.flipper.net. Practice only on tags you own.
Disclosure: some links below are Amazon affiliate links (tag cao04-20). Costs you nothing; the picks are the same either way. The Flipper.net links are plain links.
Note: Research was conducted on November 10, 2026 (America/New_York). NFC features continue to change across Momentum releases; re-check current release notes before you assume a new card type is supported.
Part 7 of the Flipper Zero Momentum Beginner Guidebook. Previous: Part 6, Sub-GHz. Next: Part 8, Infrared and BadUSB. Keep this work on tags and cards you own.
As of November 10, 2026, this series still pins mainline mntm-012.
Who this bites
This is for people who want to learn the difference between 125 kHz RFID and 13.56 MHz NFC on a Flipper, then practice a simple read-and-save flow on blank or owned tags. It is not a badge-cloning guide, a transit-card guide, or a payment-card guide.
Blank NTAG215 NFC cards (13.56 MHz) and blank T5577 125 kHz cards are the kind of lab stock this part has in mind. Saved files live on the microSD card; a SanDisk 32GB Ultra microSDHC card is enough for a beginner’s tag collection.
Legal and ethics note
This guidebook is for learning on hardware and tags you own, or have written authorization to test. Transmitting on restricted frequencies, cloning access credentials, interfering with other people’s devices, or using BadUSB / Bad KB against systems you do not own can be illegal. Custom firmware increases capability; it does not increase your legal rights. When in doubt, don’t transmit and don’t emulate. There is no “bypass building access” framing, and no guidance for cloning workplace, hotel, or transit credentials, or anyone else’s access cards.
Payment cards: custom firmware’s NFC EMV is basic card info only, not payment cloning or fraud. Do not imply otherwise.
The official product page notes that many 125 kHz systems store only an ID and have no authentication, which is why they can be read or emulated. That is a property of those systems, not a license to clone cards you do not own. Keep lab exercises on owned tags and cards. Local laws vary.
NFC vs LF RFID on the Flipper
The Flipper has two close-range radios in this category, with antennas on the dual-band RFID antenna area of the device.
125 kHz RFID (low frequency) uses an antenna on the bottom of the device. The official product page says it can read low-frequency proximity cards, save them, emulate them, or enter IDs manually. Example families listed on the official specs — not an exhaustive list, and not a cloning menu — include EM400x/EM410x/EM420x, HID, Indala, FDX (A & B), Pyramid, AWID, Viking, Jablotron, Paradox, PAC Stanley, Keri, Gallagher, and NexWatch.
NFC 13.56 MHz (high frequency) uses a built-in ST25R3916-based module, per official NFC docs, and the 13.56 MHz antenna next to the 125 kHz antenna. The official product page lists emulation examples including NXP MIFARE Classic, Ultralight, DESFire, FeliCa, HID iClass (PicoPass), and NFC Forum protocols. Those are official capability statements, not instructions to clone those systems.
The official NFC app, at a high level, includes Read (UID, SAK, ATQA, stored data), Extract MF Keys, Saved, Extra Actions, and Add Manually. Extract MF Keys collects nonces a reader attempts. This series mentions that feature only as something that exists for lab research on tags you own. It will not turn it into an attack walkthrough. Add Manually is for entering known data you already have a right to use, not for guessing someone else’s ID. Extra Actions are where official docs park additional NFC utilities; this beginner part will not inventory every item, because those menus change and a stale list is worse than a short one. If you open a tool you do not understand, back out. The same rule applies to any ‘magic card’ or writer utility you may see in later menus: this beginner guide does not document those tools, and it will not help you write a credential you do not own.
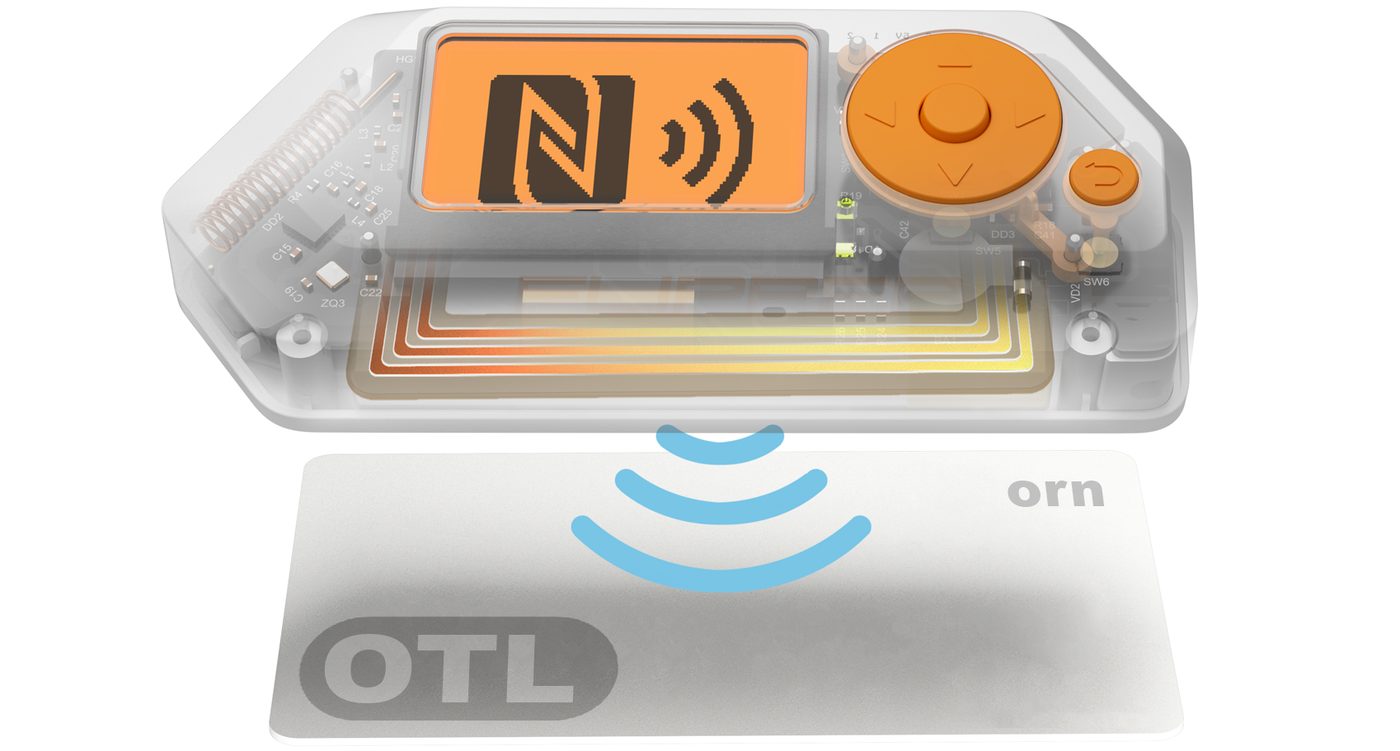
Image: Official Flipper Zero NFC product artwork. Image: Flipper Devices. Source: flipperzero.one.
Read a tag you own
Pick a tag or card you own. Hold it to the RFID/NFC area of the Flipper, open the NFC app or the RFID app as appropriate, and run Read. If the app can decode it, save it. That is the whole beginner lab: read, save, find it again later. Hold the tag close; these are short-range antennas, not a room-scale reader. If a read fails, try the other app (NFC vs RFID), try a different position on the back of the device, and confirm the tag is actually the frequency you think it is. A 125 kHz card will not suddenly become an NFC card because you opened the wrong menu. This series will not invent a requirement to “mount internal storage” or exact /nfc/ and /rfid/ paths. User files live on the microSD card, and you copy them with qFlipper’s File manager or by unmounting and pulling the card (Part 2 and Part 10).
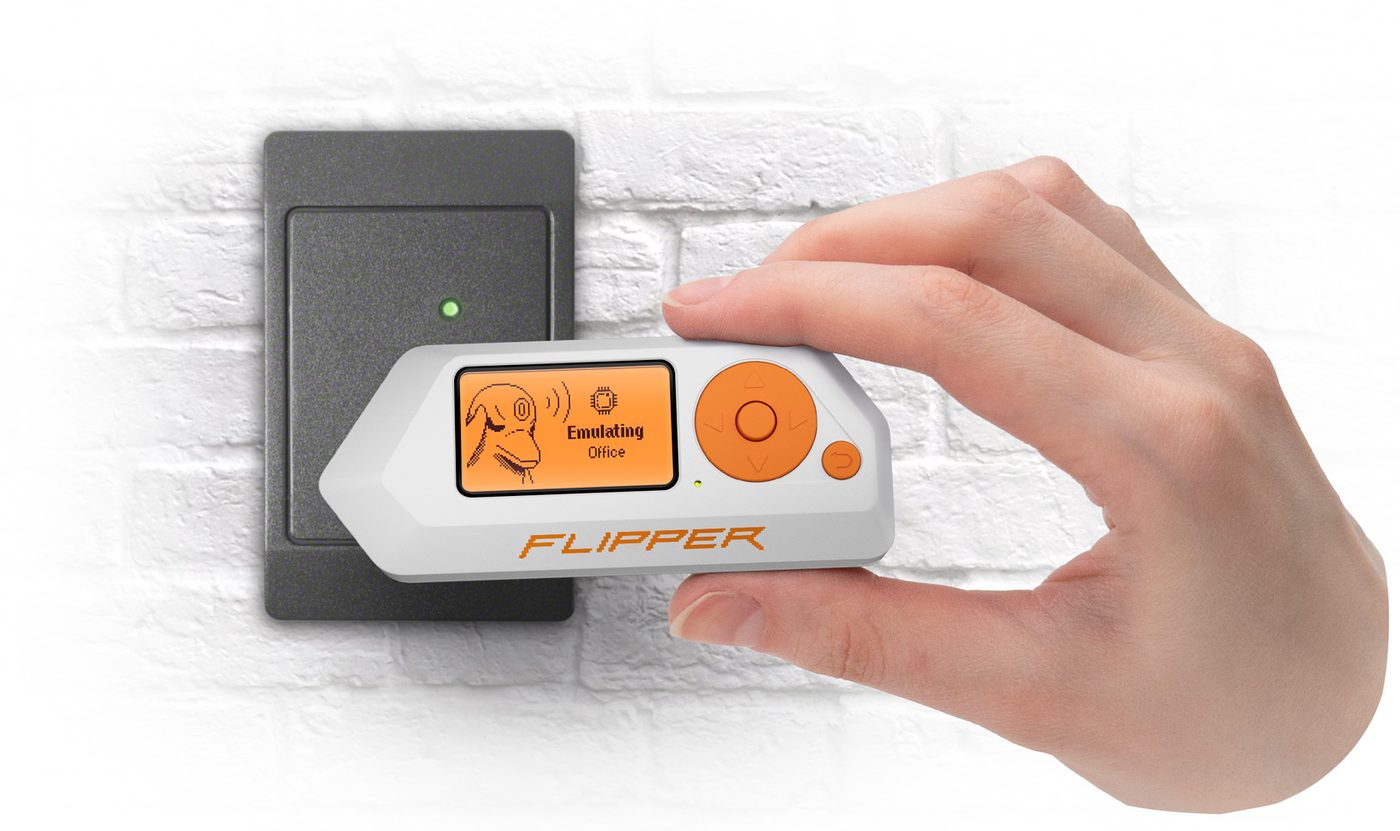
Image: Official Flipper Zero RFID product photo. Image: Flipper Devices. Source: flipperzero.one. Use emulation only for tags you own or have written authorization to test.
Save, organize, and favorite files
Saved reads live on the SD card and show up in the app’s Saved list or the Archive / file browser. Rename them so you can tell your lab tags apart. This series will not invent a favorites-only workflow or a hidden folder map beyond “the files are on the card, and the official apps can list them.”
Back up those files the same way you back up everything else: copy the SD card. qFlipper Backup/Restore is still not a full file backup.
Emulation: what it is for in a lab
Emulation means the Flipper presents itself as the saved tag to a reader. In a lab, that is how you test a tag you already own against a reader you also own or are allowed to use. It is not a shortcut through someone else’s door, hotel lock, or transit gate.
If a tag uses authentication, official firmware and common sense will often stop you from a complete clone. Do not treat a failed read as a puzzle this guidebook will solve.
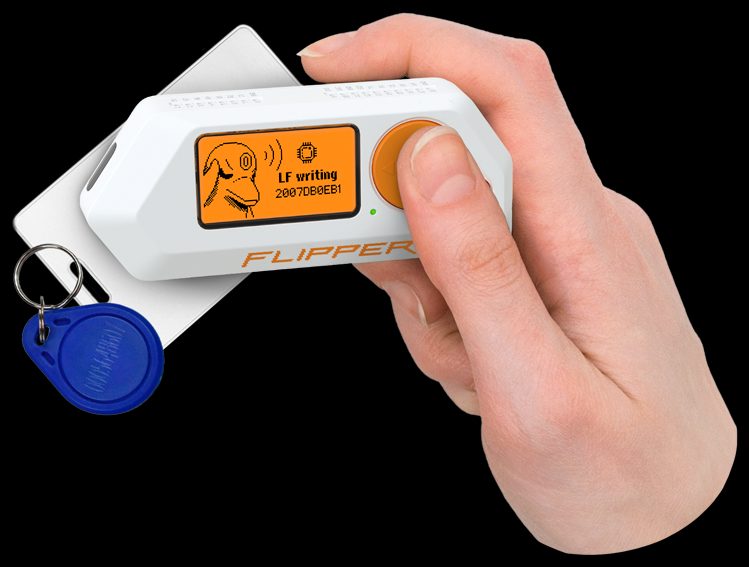
Image: Official Flipper Zero RFID product artwork. Image: Flipper Devices. Source: flipperzero.one.
What Momentum adds (high level)
Momentum’s comparison table is the safe summary:
- NFC Type 4 (NDEF on NTAG4xx / DESFire): Official Firmware no, RogueMaster no, Unleashed yes, Momentum yes. The mntm-011 notes added Type 4 and other NFC improvements, including a Type 4 Tag protocol with full support and NTAG4xx detection / basic info. This series will not invent write or emulate details beyond that high-level description. See the current release notes.
- NFC EMV: basic card info only, on Momentum, Unleashed, and RogueMaster; not on Official Firmware, per the table.
- mntm-012 includes further NFC work (the release notes mention additional native NFC app work). NFC support continues to expand. Read the current notes instead of treating this article as a card-by-card compatibility list.
EMV basic card info — what that does not mean
If Momentum’s NFC app shows some information from a payment card, that is still not a clone, not a replay, and not a way to pay. Official wording is “only basic card info.” Do not try to stretch it. Do not practice on a card that is not yours.
Skip-if
- The tag or card is not yours, and you do not have written authorization.
- You wanted a workplace, hotel, or transit clone walkthrough.
- You wanted payment-card fraud or “copy this Visa” steps.
- You expected Extract MF Keys to be taught as an attack.
If any of those apply, close the app.
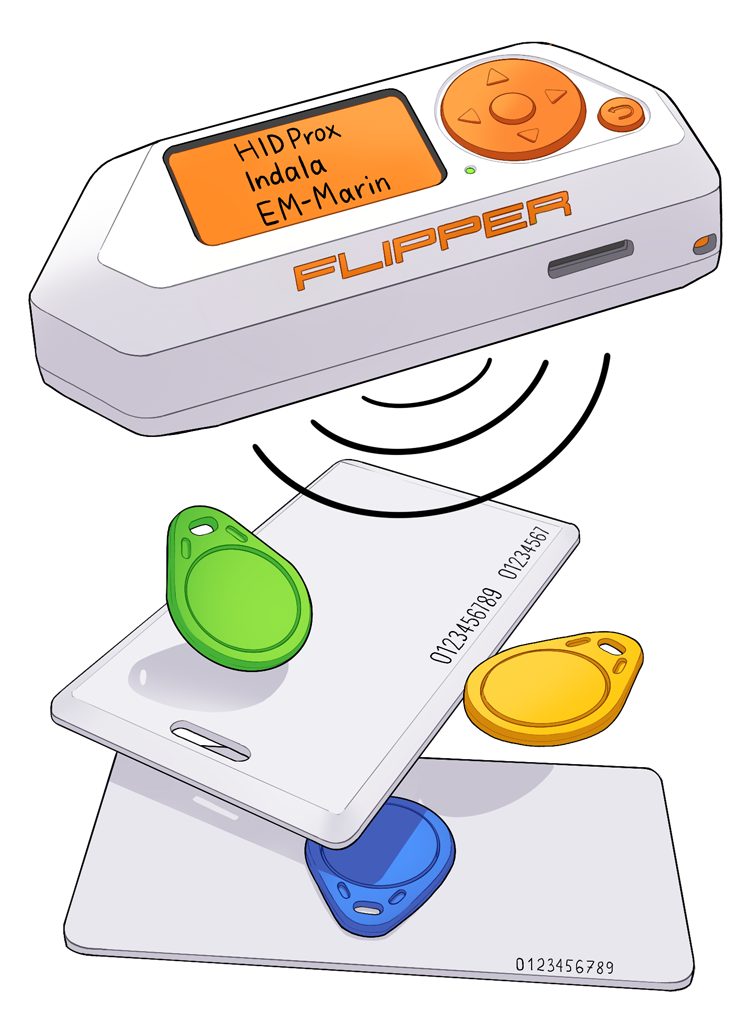
Image: Official Flipper RFID documentation illustration. Image: Flipper Devices. Source: docs.flipper.net.
Checklist
- Use only tags and cards you own, or have written authorization to test. Blank NTAG215 and T5577 cards are fine lab stock.
- Use the NFC app for 13.56 MHz and the RFID app for 125 kHz. Do not assume one menu covers both.
- Read, then save, then find the file in Saved.
- Emulate only back to a reader you are allowed to use.
- Treat NFC EMV as basic info, not a payment clone.
- Copy SD files if the saves matter. Do not rely on qFlipper Backup/Restore.
- Continue to Part 8 for infrared and BadUSB, still on your own devices.
FAQ
Can Momentum clone payment cards?
No. NFC EMV on these firmwares is basic card info only.
Where are the saved files?
On the microSD card. Copy them with qFlipper’s File manager or by unmounting and removing the card. This series will not invent exact folder paths as a requirement.
What is NFC Type 4 support?
On Momentum and Unleashed, the comparison table lists NFC Type 4 NDEF on NTAG4xx/DESFire as a yes. Official Firmware and RogueMaster are a no on that row. For write and emulate behavior, read the current release notes instead of this beginner summary.
Is 13.56 MHz always legal to use?
This series will not invent a licensing rule. Use owned tags, and check your local laws if you are unsure.
The bottom line
Read and save tags you own. Use emulation as a lab tool for those same tags. Treat EMV as “basic info only,” and leave other people’s access cards alone. Momentum adds some NFC protocol coverage; it does not add permission.
Previous: Part 6 – Flipper Zero Sub-GHz for Beginners on Momentum (Read, Save, Legal Limits) Next: Part 8 – Flipper Zero Infrared and BadUSB on Momentum: Safe Lab Uses
Sources
5 refs- https://docs.flipper.net/zero/nfcdocs.flipper.net
- https://flipperzero.one/flipperzero.one
- https://momentum-fw.dev/momentum-fw.dev
- https://github.com/Next-Flip/Momentum-Firmware/releases/tag/mntm-011github.com
- https://github.com/Next-Flip/Momentum-Firmware/releases/tag/mntm-012github.com
comments
loading comments…
No comments yet. Start the thread.