Header image: Momentum Firmware project logo. Graphic: Next-Flip / Momentum Firmware. Source: GitHub README assets.
Disclosure: some links below are Amazon affiliate links (tag cao04-20). Costs you nothing; the picks are the same either way. The Flipper.net links are plain links.
Note: Research was conducted on November 10, 2026 (America/New_York). Firmware versions can change; always verify the latest release on the official sites before flashing.
Part 3 of the Flipper Zero Momentum Beginner Guidebook. This is the flash. Part 2 should already be done: card in, device charged, Official Firmware updated, stock desktop familiar. After this part, Part 4 covers Momentum Settings.
If Part 1’s skip-if still applies, do not install Momentum. Stay on Official Firmware.
Who this bites
This is for people who finished the stock setup and still want Momentum’s settings app, Asset Packs, and unlocked baseline. It is not a first-boot guide, and it is not a radio tutorial. After the install, your legal rights do not change. Custom firmware only changes what the software can do.
You need a data-capable USB cable. An Anker USB-A to USB-C cable is a known spare if the included lead is missing or charge-only. The microSD card must already be inserted; a SanDisk 32GB Ultra microSDHC card sits in the official 16–32 GB band.
Version pin (as of research)
As of November 10, 2026, the latest mainline release is still mntm-012, published December 31, 2025 (UTC). The Web Updater labels it mntm-012 30.12.25. No newer numbered mainline (mntm-013 or later) was published as of the research date. A dev/ folder on the update server was dated August 18, 2026, so dev builds may be newer than mainline. This series uses mainline. Re-check GitHub releases or the Web Updater before you flash.
This series does not claim releases are signed, and it does not claim the device or the app will notify you of updates. The updater footer around this research also showed commit 8a53705. That is not a release tag. Install the named mainline, not a random commit. The mntm-012 release assets include flipper-z-f7-update-mntm-012.tgz, a matching .zip, and an SDK zip. Use the .tgz or .zip for install; the SDK zip is for developers, not for this beginner flash.
Back up what actually matters
User data lives on the SD card, not in internal flash. Installing firmware does not by itself wipe those files, but back up first anyway.
qFlipper’s Advanced Controls Backup / Restore is not a full backup. It only backs up settings in the hidden .int folder. Momentum’s install wiki lists the real options: copy the folders you care about with qFlipper’s File manager; remove the SD card and copy the files to a computer; or image the FatFs partition. The wiki says “Google it” for imaging — this series will not invent a specific tool or command as official.
Keep the card inserted for the flash itself. Official docs want the card in during firmware updates so databases can be written to it. Pulling the card before an update is the wrong move.
Method picker: choose your installer
Momentum documents four methods and recommends the Web Updater. Use only one method at a time. Close qFlipper when you use the Web Updater or Flipper Lab, and close the Web Updater and Lab when you use qFlipper.
1. Web Updater (recommended)
Open https://momentum-fw.dev/update in Chrome, or another browser with Web Serial. Click Connect, select your Flipper, pick the Channel and Version (or upload a .tgz), click Install, and wait. Do not disconnect mid-update.
This series will not invent chrome://flags steps. If your browser has Web Serial, the page should offer a connection. If it does not, that is an Unsupported Browser error, not a hidden flags tutorial.
2. Flipper Lab / official mobile app
From the GitHub release, use the Flipper Lab / Flipper App (chrome/mobile) link. In a desktop browser: Connect, then Install, with qFlipper closed. On mobile: the official Flipper Mobile App must already be installed, open, and paired. Accept the prompt to open the link in the app, then tap Update.
3. qFlipper package (.tgz)
Download flipper-z-f7-update-mntm-012.tgz (or the current mainline name, if a newer mainline has shipped since this research) from the mntm-012 release. Open official qFlipper, connect the Flipper, choose Install from file, and select the .tgz. This is not the official RELEASE channel update from Part 2. There is no official qflipper --install command in this series; use the app’s Install from file button.
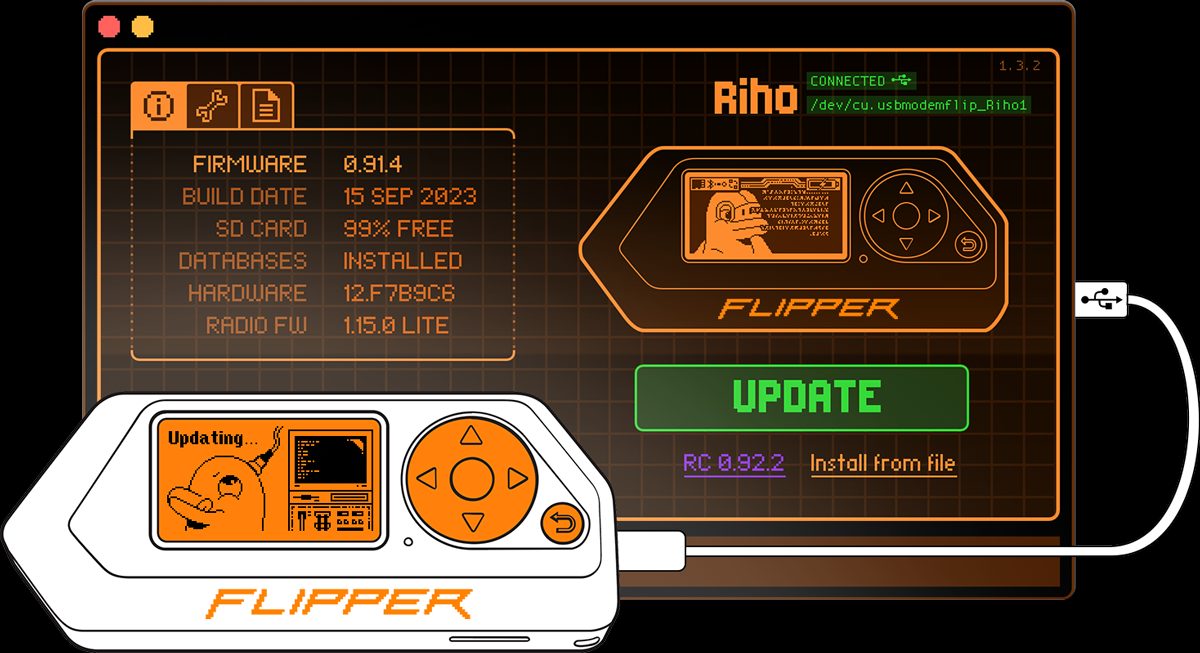
Image: Official qFlipper desktop app artwork. Image: Flipper Devices. Source: flipper.net/pages/downloads. The version numbers in this marketing screenshot are older official builds, not mntm-012.
4. Zipped archive on the SD card
Download the .zip from the same release, extract it (that extracted folder is the firmware folder), and in qFlipper move it to SD/update. On the Flipper, press Arrow Down to the file menu, open the updates folder, select that firmware, and run the file named Update.
Connection errors cheat sheet
The install wiki documents four Web Updater messages. Use them as written.
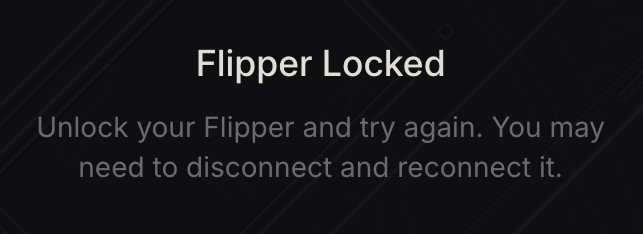
Screenshot: Web Updater “Flipper Locked” state. Screenshot: Momentum Firmware wiki. Source: momentum-fw.dev/wiki/Installation.
Flipper Locked. Unlock the device and try again. After Momentum is already installed, Allow USB RPC While Locked may be off in MNTM → Interface → Lockscreen, which blocks the updater while the Flipper is locked. On a first install you are still on stock firmware, so the simpler explanation is usually that the device is locked. Do not go hunting for a Momentum-only setting that is not there yet.
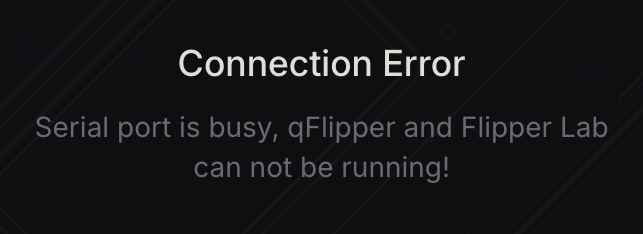
Screenshot: Web Updater “Connection Error” state. Screenshot: Momentum Firmware wiki. Source: momentum-fw.dev/wiki/Installation.
Not Connected or Connection Error usually means something else is using the serial port. Close qFlipper, Flipper Lab, and the official mobile app, then reconnect. Use a data-capable cable, not a charge-only lead.
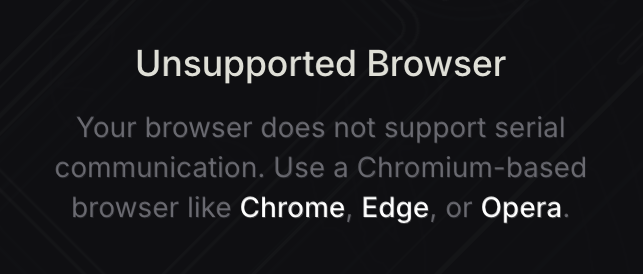
Screenshot: Web Updater “Unsupported Browser” state. Screenshot: Momentum Firmware wiki. Source: momentum-fw.dev/wiki/Installation.
Unsupported Browser means the browser has no Web Serial. Switch to Chrome or another supported browser. Do not invent a flags walkthrough.
Verify install (version string)
When the update finishes, confirm the on-device version / About information matches the release you chose — mntm-012, or whatever mainline you actually installed after re-checking. This series will not invent an exact Settings → About path. If the string does not match, do not assume success.
If the device will not power on after a failed flash, official First Start points at Firmware recovery. Link that page; do not invent recovery steps here.
Trade-offs and skip-if
- Stay on Official Firmware if you need the vendor-supported path, or if you do not want custom-firmware features present on the device.
- Prefer mainline over dev unless you understand that dev may be newer and less guaranteed.
- Use one installer at a time. Two tools holding the serial port is the usual way a “simple” flash goes nowhere.
- Installing Momentum is not permission to test third-party systems. The new features can be illegal to misuse.
Legal and ethics
This guidebook is for learning on hardware and tags you own, or have written authorization to test. Transmitting on restricted frequencies, cloning access credentials, interfering with other people’s devices, or using BadUSB / Bad KB against systems you do not own can be illegal. Custom firmware increases capability; it does not increase your legal rights. When in doubt, don’t transmit and don’t emulate. Local laws vary.
Checklist
- Finish Part 2: card inserted, device charged, stock firmware updated.
- Copy the SD files to a computer. Do not rely on qFlipper Backup/Restore alone.
- Re-check the current mainline. As of November 10, 2026, that is mntm-012.
- Close qFlipper, Flipper Lab, and the official mobile app.
- Use a data-capable cable.
- Pick one method. Prefer the Web Updater at https://momentum-fw.dev/update.
- Do not disconnect mid-update.
- Confirm the on-device version string matches the release you installed.
- Leave Bypass Region Lock, BLE spam, and spoofing alone until you have read the later parts.
- Continue to Part 4 for Momentum Settings, or stop here if you only needed the flash.
FAQ
Which install method should I use?
Momentum recommends the Web Updater, in a browser with Web Serial. The other three methods work; use only one at a time.
Will this wipe my saved files?
Installing firmware does not by itself wipe user files on the SD card. Back up first anyway, by copying those files.
Can I install a dev build instead?
Dev builds may be newer than mainline. They do not carry the same stability guarantees. This series uses mainline.
The updater says Flipper Locked on a first install. Is that the USB RPC setting?
Probably not, not yet. Allow USB RPC While Locked lives in Momentum Settings after Momentum is installed. On a first flash, unlock the stock device and close other serial apps.
How do I go back to Official Firmware?
This fact sheet does not document a guaranteed one-click rollback path. Official qFlipper is the official firmware updater (Part 2). If you need official firmware again, use qFlipper’s official channels, and keep a backup of your SD files.
The bottom line
Back up the SD files, close the other serial tools, and install current mainline with one official Momentum method — preferably the Web Updater. Confirm the version string. Then go to Part 4 and leave the risky toggles off until you know what they do.
Previous: Part 2 – Flipper Zero Setup Guide: SD Card, Charge, and First Boot Next: Part 4 – Momentum Settings App: Customize Flipper Zero Menus, Keybinds, and Lockscreen
Sources
5 refs- https://momentum-fw.dev/wiki/Installationmomentum-fw.dev
- https://momentum-fw.dev/update/momentum-fw.dev
- https://github.com/Next-Flip/Momentum-Firmware/releases/tag/mntm-012github.com
- https://up.momentum-fw.dev/builds/firmware/up.momentum-fw.dev
- https://docs.flipper.net/zero/qflipperdocs.flipper.net
comments
loading comments…
No comments yet. Start the thread.